Widely used relational database for diverse applications, known for its reliability.
Versatile relational database with sophisticated optimization capabilities and rich feature set.
High-speed, key-value data store, optimized for performance with an efficient in-memory design.
Dynamic NoSQL database, offering flexible document structures and scalable data handling.
Scalable, parallel-processing database platform, designed for advanced analytics and complex workload management.
Comprehensive database system with a full suite of tools for data management, business intelligence, and analytics.
Discover the latest insights, trends, and tips in database management and technology.
Access in-depth guides and resources for maximizing your use of ScaleGrid's DBaaS.
Detailed references for developers to integrate and leverage ScaleGrid's powerful features.
Choosing between Redis and Memcached hinges on specific application requirements. In this comparison of Redis vs Memcached, we strip away...
Thinking about going multi-cloud? A well-planned multi cloud strategy can seriously upgrade your business’s tech game, making you more agile....
Navigate through relational data, ensuring quick, efficient transactions.
Build dynamic applications leveraging PostgreSQL's extensible features.
Harness real-time analytics and caching for swift data access.
Work effortlessly with document-based data, enabling agile and scalable solutions.
Dive into large-scale analytics and data warehousing with ease.
Develop your applications with a solid, managed relational database backend.
Data loss or corruption can be daunting. With MySQL point-in-time recovery, you can restore your database to the moment before...
Regarding MySQL backups, knowing how to secure your data is crucial. This guide cuts through the complexity, providing instructions on...
When a MongoDB rollback happens, it can cause trouble to your data integrity and system consistency. Understanding how to address...
Understanding the Postgres EXPLAIN cost EXPLAIN is very useful for understanding the performance of a Postgres query. It returns the...
Dive into the world of database management with our monthly newsletter. Get expert tips, in-depth articles, and the latest news, directly to your inbox.
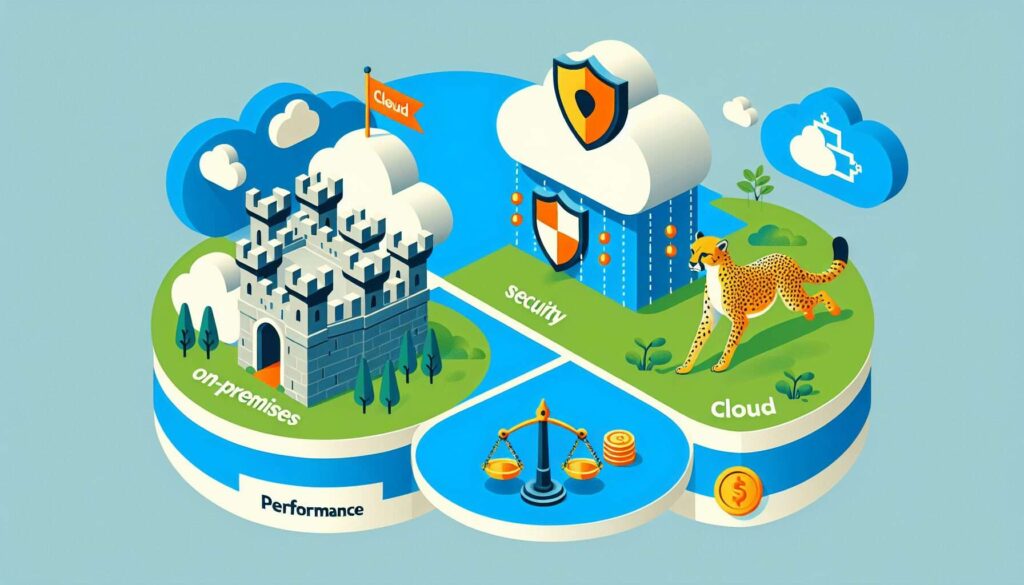
Mastering Hybrid Cloud Strategy Are you looking to leverage the best private and public cloud worlds to propel your business...
In a world where data security is essential, enabling MongoDB SSL is critical in fortifying your database. This guide walks...
A distributed storage system is foundational in today’s data-driven landscape, ensuring data spread over multiple servers is reliable, accessible, and...
Redis® is an in-memory database that provides blazingly fast performance. This makes it a compelling alternative to disk-based databases when...
What is workload in cloud computing? Simply put, it’s the set of computational tasks that cloud systems perform, such as...
What does it take to secure your cloud assets effectively? Cloud security monitoring is key—identifying threats in real time and...
What does strong enterprise cloud security entail, and how can you achieve it? With the prevalence of cyber threats and...
Confused about multi-cloud vs hybrid cloud and which is the right strategy for your organization? Multicloud harnesses diverse cloud services...
Exploring artificial intelligence in cloud computing reveals a game-changing synergy. This article delves into the specifics of how AI optimizes...
What are the key advantages of DBMS? Enhanced data security, better data integrity, and efficient access to information. If you’re...
Managing vast datasets effectively is an essential requirement for modern applications, and MongoDB, a leading NoSQL database, offers robust solutions...
In today’s data-driven world, the ability to effectively monitor and manage data is of paramount importance. Redis®, a powerful in-memory...